
Watch How to DIY Gorgeous Paper Roses That Will Bloom All Year Long
Marie Osmond might have scoffed at the idea of paper roses, but we love how they add floral flair to everything from gifts and greeting cards to party decor. Better yet: they're surprisingly easy to DIY! Watch how we made two different kinds of faux blooms—rolled craft-paper roses and fluffy crepe-paper flowers—for a one-of-a-kind valentine.
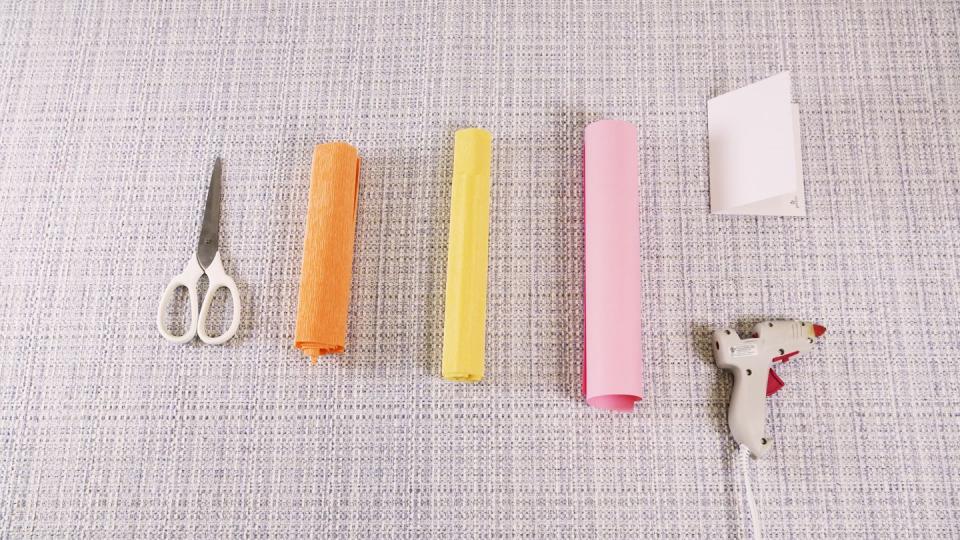
You'll need:
Craft paper
At least two colors of crepe paper
Scissors
Hot glue gun
Blank folded card
Rolled-Paper Roses
1. Start with a paper circle approximately six inches in diameter. Cut into a spiral about an inch wide; when complete, snip off the pointy outer end.

2. Starting with the outer end, begin rolling towards the center.
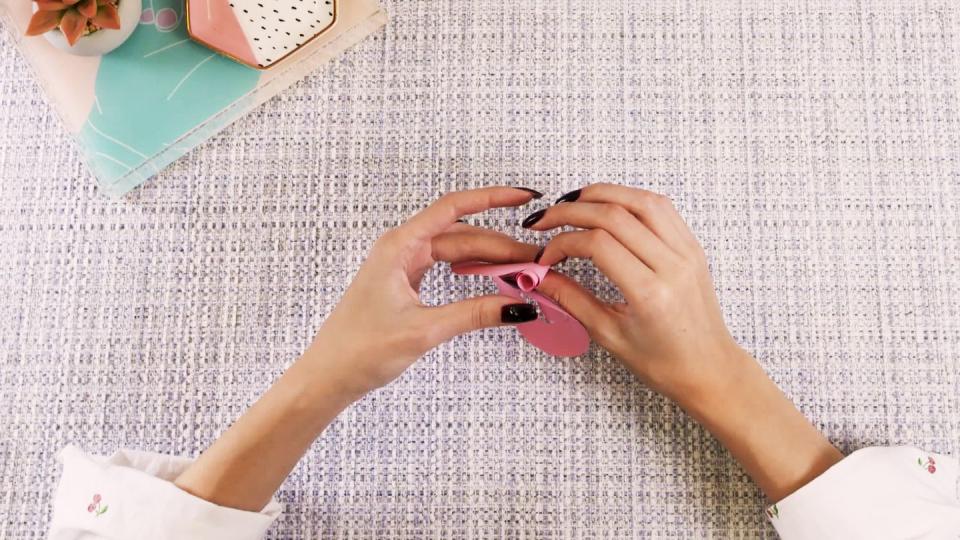
3. Once it’s fully rolled, let loosen a bit to desired size.
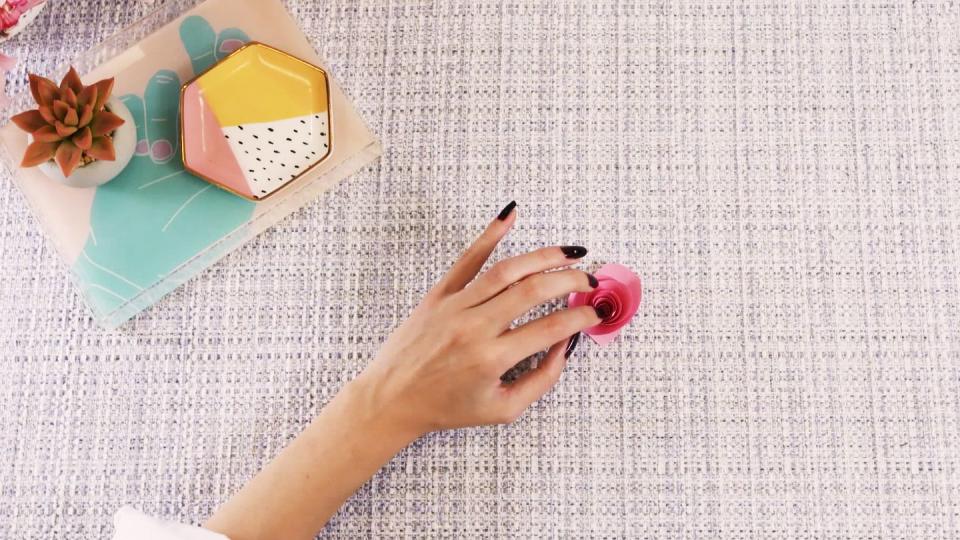
5. Use hot glue to attach the loose end, hold for a few seconds until dry.

The finished product:

Crepe-Paper Flowers
1. Start with a craft-paper circle approximately three inches in diameter.

2. Cut crepe paper into identical teardrop-shaped petals an inch and a half long, with the grain of the paper going lengthwise down the petal.

3. Use fingers to stretch and shape the petals so they’re slightly concave.
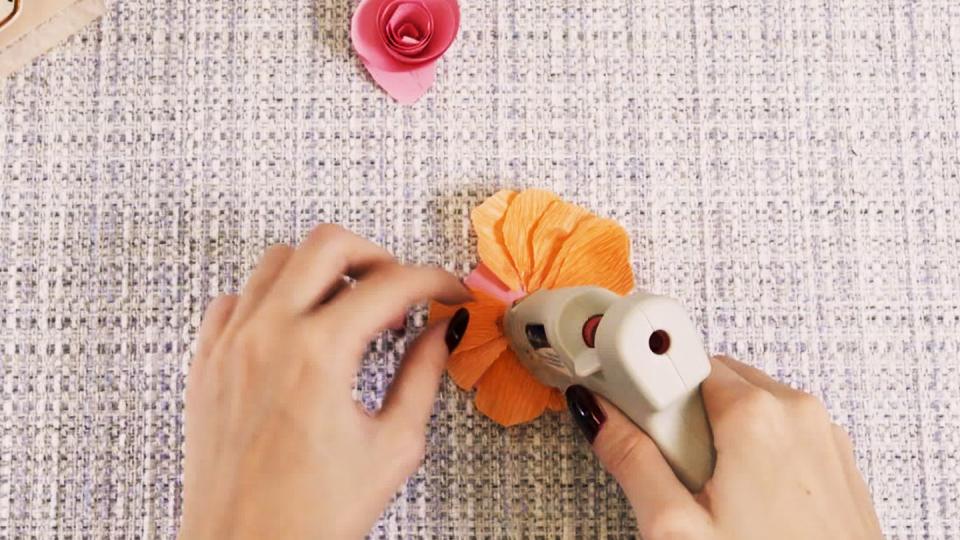
4. Glue the petal to the outer edge of the paper circle.

5. Repeat with additional petals, overlapping each one as you work toward the middle of the circle. When you get close to the center, you’ll have to trim the petals to make them fit.
6. Choose a different color crepe paper for the stamen. Cut into a strip about an inch wide by four inches long.

7. Cut fringe about ¾ of the way towards the edge and separate pieces.
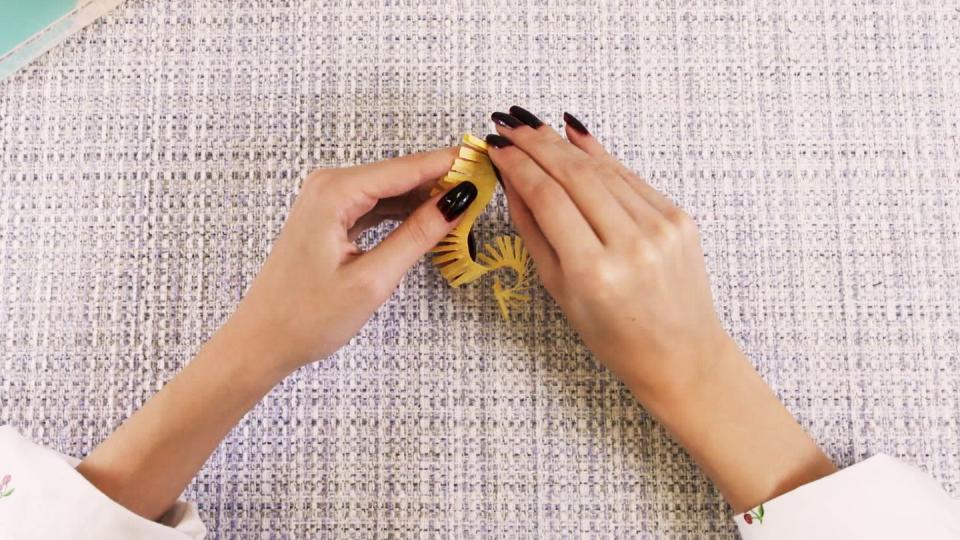
8. Roll paper tightly.

9. Attach the non-fringed end to the center of flower and hold securely until dry.
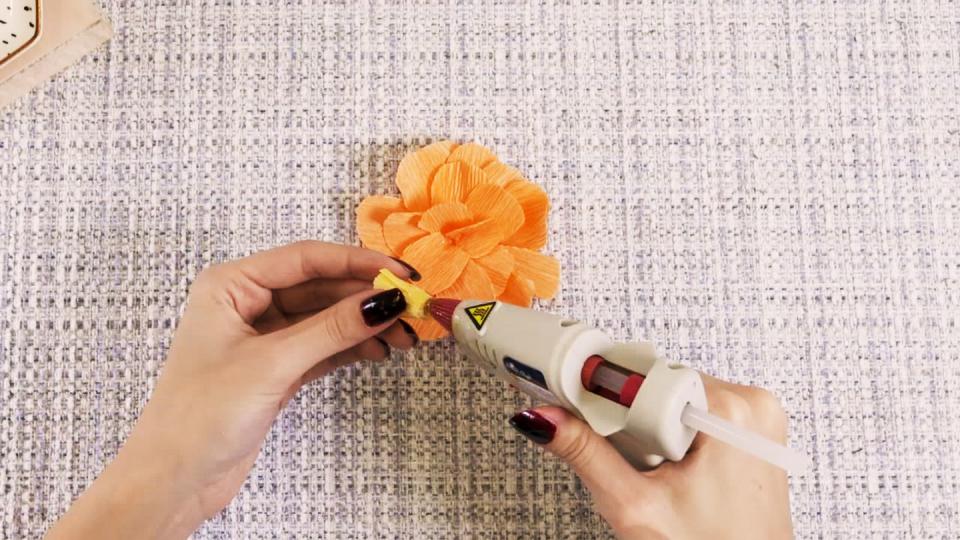
The finished flower:

Once you have your desired number of flowers, glue them to the front of your card and use pens to decorate!

Follow House Beautiful on Instagram.
You Might Also Like
