
How to make your own candles for maximal boujie-ness and minimal costs
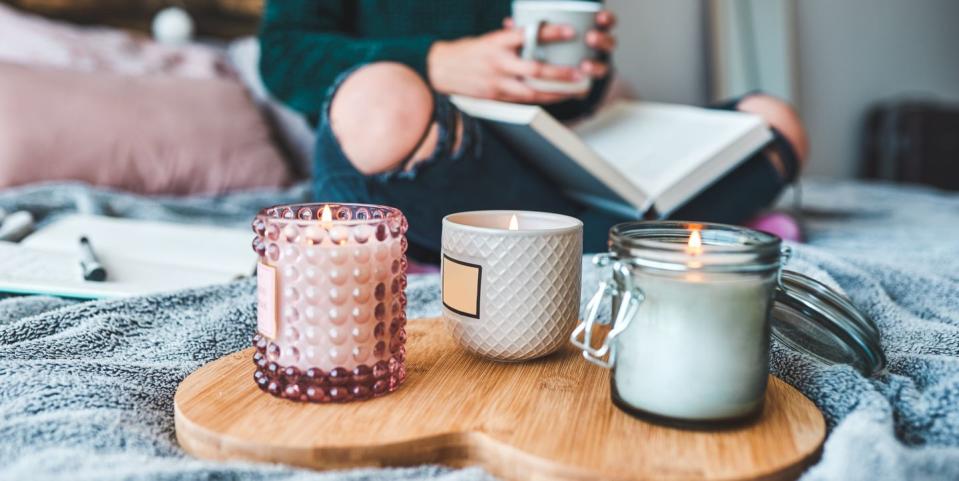
Obviously, we're probably always going to want to fill our house with candles. Whether we're trying to find the best Diptyque dupe, or stocking up on Jennifer Aniston's fave home scent, we know we're probably spending more than we'd care to admit on those boujiee scented candles. Now, we're all for that treat yourself mindset, but you can definitely cut costs by making some of your own at home. More money for other home accessories, then too...
And honestly? It's not as hard as you'd imagine - particularly once you've got the hand of things. We spoke with Cosy Owl candle making supplies, who shared their expert tips on how to make candles at home.
How to make candles
Before you get stated, you'll need to gather your equipment; candle wax, a (heat resistant) glass container, wicks, wick dots, dye and fragrance oil. Cosy Owl has everything you could possibly want, and most art supply stores will be fully stocked, too.
To measure how much wax you need, fill your container/mould with water, measure the amount of water and round up to the nearest 10ml. Deduct 20% from that figure and that's the number of grams of wax you need (because wax is less dense than water). For example: 495ml of water in the container/mould – rounds up to 500ml. Deduct 20% from that figure (100) giving you 400 – so you need 400g of wax.
Next, start by preparing the area you will be using to make your candles to ensure that any spills are easily cleaned up. Wax can be a nuisance to remove, so have warm water and a rag or paper towels available to wipe away any spillages.
Be careful to avoid contact with the skin and especially your eyes, and remember, anyone under the age of 18 should be supervised by an adult.
Never pour any unused wax down your sink as this can lead to blockages. Similarly, do not try to wash wax soaked containers or moulds in your dishwasher.
Okay, now we're all prepped, ready to get started?
Step one – Wash and dry your candle jars
Start by cleaning your candle jars, ensuring they're completely dry afterwards. You don't want to get any potential markings or swirls appearing on the finished masterpiece.
Step two – Prepare and melt the wax
Fill a large saucepan about halfway with hot water – making sure there’s enough room for the smaller heat-resistant container holding the wax. Place your solid wax into your container, then carefully place into your pot, and make sure the hot water does not go into the container.
The water should now be brought to the boil and the wax will start to melt. You can stir the wax with a disposable wooden spatula, but this isn't completely necessary. However, having a spatula will be useful when adding wax dye or wax fragrance.
Use a wax thermometer to monitor the temperature of the wax. You can use a standard cooking thermometer, but remember it must be cleaned effectively before being reused with food.
Paraffin wax should be melted until it reaches a temperature of approximately 50° to 60°C (122° to 140°F).
Soy wax should be melted until it reaches a temperature of approximately 76° to 82°C (169° to 180°F).
Vegetable wax should be melted until it reaches a temperature of approximately 47° to 49°C (116.6° to 120.2°F).
Gel Wax should be melted until it reaches a temperature of approximately 94° to 104°C (201° to 219°F).
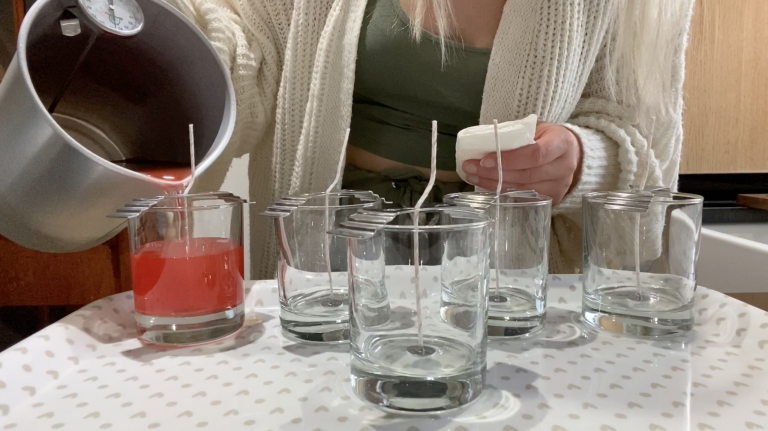
Step three – Add the wick
Using the wick dots, get the wick as central as possible in the jar. To make sure it's located centrally, grab a wick centering tool, pop it over the wick and slot it through the designated centering gap.
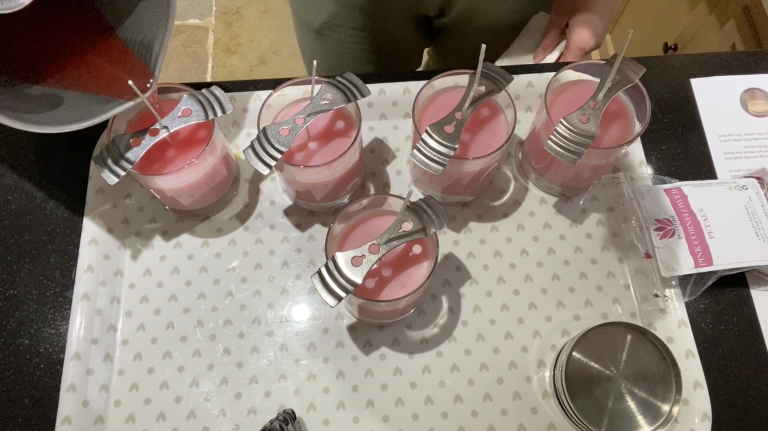
Step four – Add your dye and fragrance oil
Now you can add your dye to the melted wax. The more dye you add, the stronger the final colour of the candle will be. As you place the dye into the container, you will immediately get an idea of the colour – add a little at a time until you get the colour you want. Make sure all of your shards have melted before you start adding any fragrance oil.
Next include your full fragrance oil and stir in gently, you want to avoid air pockets, so treat this part like baking! Make sure you keep stirring gently so the fragrance oil is all the way through the wax. Be careful not to make the scent overly powerful at first or it can be quite overwhelming when permeating into the room.
Don’t forget, you can mix different dyes and fragrances together with the candle wax if you are feeling particularly adventurous.
Step five – Pour the wax
Grab some kitchen roll (to keep the wax from spilling onto the sides of your jars) and begin pouring your wax carefully into your jars. Only pour partially the way up, as you’ll need that extra room at the top.
Step six – Check up on your candles
Half an hour later, check how the candles are setting and then reheat your remaining wax and fill in any potential holes that have appeared on the top of the candle. Once you have topped up your candle with the remaining wax, it’s best to leave the candle for 24 hours.
Soy wax candles generally take the least amount of time – around 5 hours to cool and solidify. Vegetable wax candles slightly longer – around 7 hours, while Paraffin wax candles take the longest time.
Step seven – Trim the wick
Remove your wick-centering tool, grab yourself some scissors and trim the wick to about 5mm. Using longer wicks will create a larger flame initially, but most of the time, any excess will simply burn away.
And there you have it! How good is your house going to smell?!
You Might Also Like
