
You don’t need squats to strengthen your hips, glutes and quads — just this one bodyweight exercise
The yogi squat is one move I swear by for releasing tight hips and targeting the lower body. The bodyweight exercise, used mostly in yoga and its expressions, stretches and strengthens various muscles, including the hips, glutes, lower back, core, adductors, quads, hamstrings and calves.
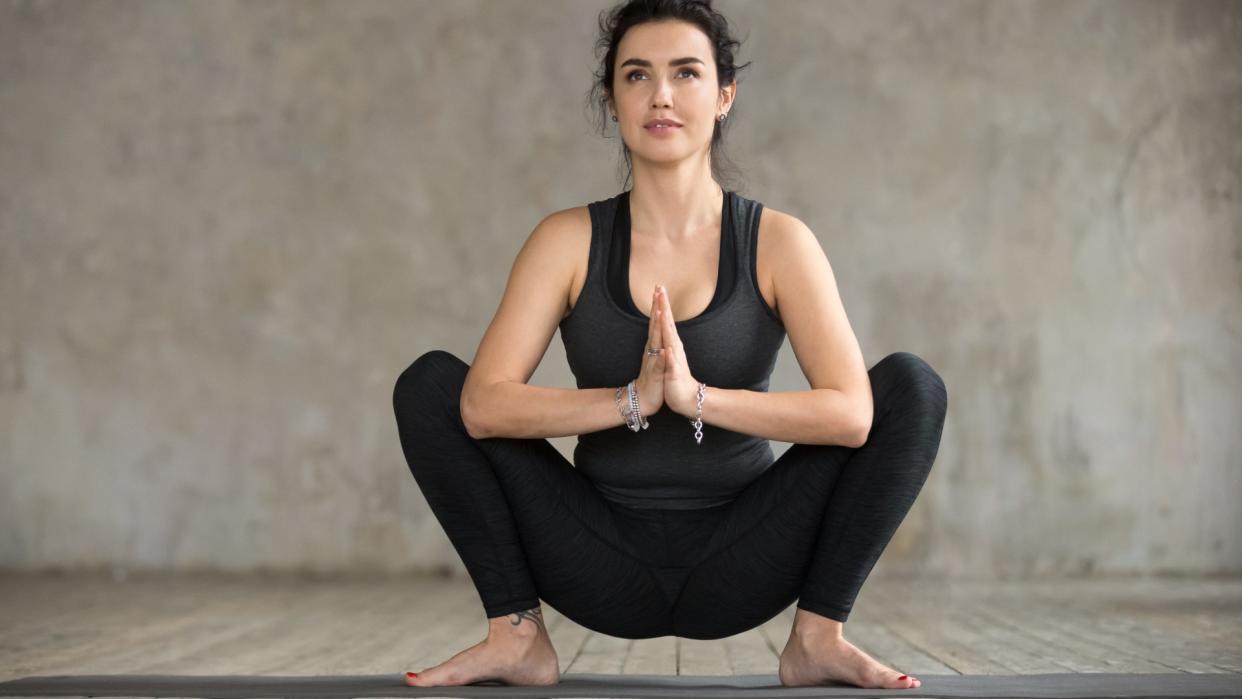
To do the yogi squat pose, sit into a deep squat with your toes pointed slightly outward. At the bottom of the squat, drive your knees outward by pressing your elbows gently against the inner knees, then lift your chest and flatten your back, sitting tall in the posture.
I recommend using one of the best yoga mats to support your practice, but actually, you can perform the exercise anywhere. Bored waiting for a bus? Sure, bust out a yogi squat. I personally like to include a dynamic version (rolling from heel to heel) during mobility warm-ups before workouts. Here’s everything you need to know.

Liforme yoga mat: now $120 @ Amazon
It has an unparalleled grip and fantastic cushioning, especially if you practice outdoors. Plus, the stunning designs turn heads. We rated this mat in our best yoga mats guide.View Deal
What is a yogi squat good for?
The yogi squat is called Malasana in Sanskrit or Garland Pose, translating as “Mala” (Garland) and “Asana” (Pose).
It’s a deep squat variation and instead of moving up and down as you would with a standard bodyweight squat, you’ll hold the position at the bottom of the exercise, using your elbows or upper arms to drive your knees outward (depending on the variation you take) and bringing your hands to a prayer position or similar in front of your chest.
The exercise offers a deep hip stretch, perfect for undoing the effects of sitting for long periods while strengthening the lower back, glutes and legs without weights.
How to do the yogi squat exercise
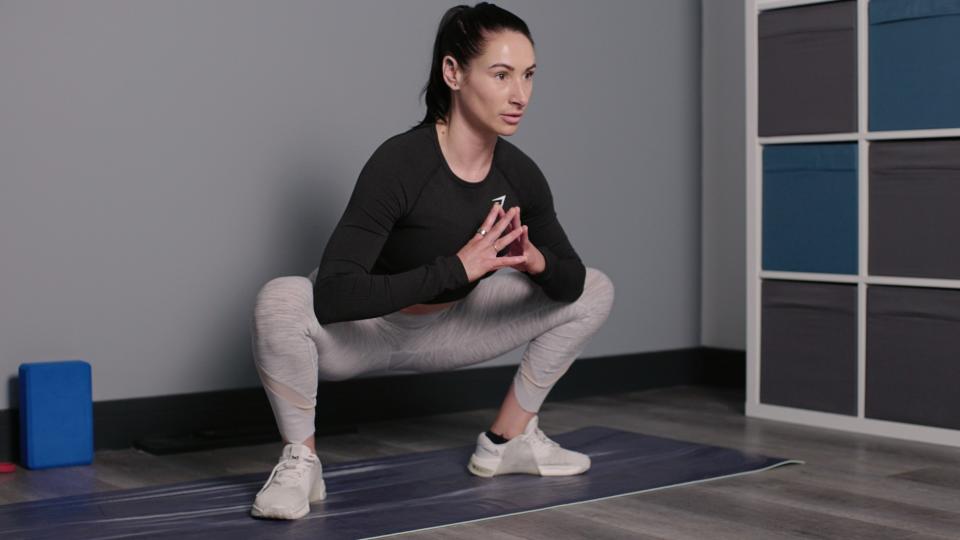
Stand with your feet roughly hip-width apart and turn your feet out. Start slightly wider (as I have above) if you’re tight or new to the pose
Lower into a squat, keeping your heels planted into the mat and knees driving outward
Keep your back straight and spine neutral, lifting your chest proud to sit tall. Avoid rounding your back or overleaning
Pull your shoulders back and down, then bring your hands together in front of your chest and drive your knees outward in line with your toes using your elbows or upper arms
Hold the position, driving your bum downward to sit without touching the ground
To add movement, rock from side to side and heel to heel, gently massaging the hips
At the most advanced expression of the pose, the posture will look narrower and you’ll lean slightly forward so that your torso rests between your thighs. Then, bring your hands to prayer in front of your shins with your upper arms pressed to your inner thighs. I'm still working toward this.
What are the benefits of the yogi squat?
Having spoken to my yoga teacher about the pose, I’ve learned yogi squats are seen as a grounding posture. We already know there are many benefits of squats — the compound exercise builds lower body strength and power and targets the lower back and core muscles — but what does holding a low squat do for your body?
Yogi squats help develop lower body flexibility and range of motion around the pelvis and deliver a deep hip-opening and groin stretch as you build endurance and balance in the holding or seated position. It can also be used to help strengthen the core and pelvic floor, although we’d prioritize the best pelvic floor exercises if this is an area of concern.
If you find adequate squat depth difficult to reach during back squats or other squat variations, this pose and its dynamic expression could benefit you and help you find more space.
Why can't I do a yogi squat?
Firstly, I’m not a yoga teacher, so I wouldn't diagnose the issue, especially without working firsthand with someone. However, having taught within the fitness industry as a qualified trainer for a while now, most of the squat form issues I see with clients are related to joint mobility issues, tight back muscles and underdeveloped or weaker muscles.
For example, butt-winking (when the pelvis slightly tucks under at the bottom of the squat) can be commonly linked to tight hips, knees and ankles, so if you find yourself tight in any of these areas and struggling to sit low during a yogi squat, consider using some of the preparatory exercises below to help ease tightness and strengthen muscle groups.
Narrow squats
Narrow squats dial into the quads and help develop mobility in the hips, knees and ankles. Position your feet close together, then practice squatting while keeping your back straight, chest lifted and heels planted down. If you prefer, place a yoga block or a book between your thighs and practice squeezing against it as you move.
Frog pose
The frog pose is a hip-opening stretch that helps to build flexibility around the pelvis, lower back and adductors. You can safely hold a frog pose for several minutes at the end of a workout, first thing in the morning, or before bedtime to help counteract the effects of sitting. If you have an injury, check with a qualified professional before trying a frog pose for the first time.
Modify your yogi squat
If you’d like to practice building up your yogi squat, place a block or similar under the bum or press your back against a wall for an assist. You could also prop blocks or a rolled towel beneath your heels if they lift.
However, there may be times when you should avoid yogi squats altogether. If you suffer from sciatica, generalized back pain, or knee issues, speak with a qualified yoga instructor, medical physician, or similar to determine if this stretch is safe for you.

