
These Creative Gift Wrapping Ideas Will Wow Everyone on Christmas Morning


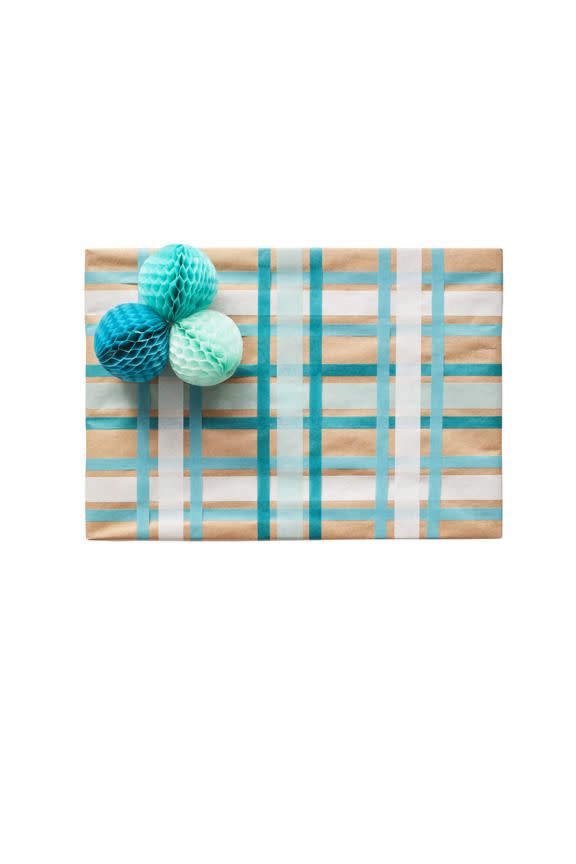


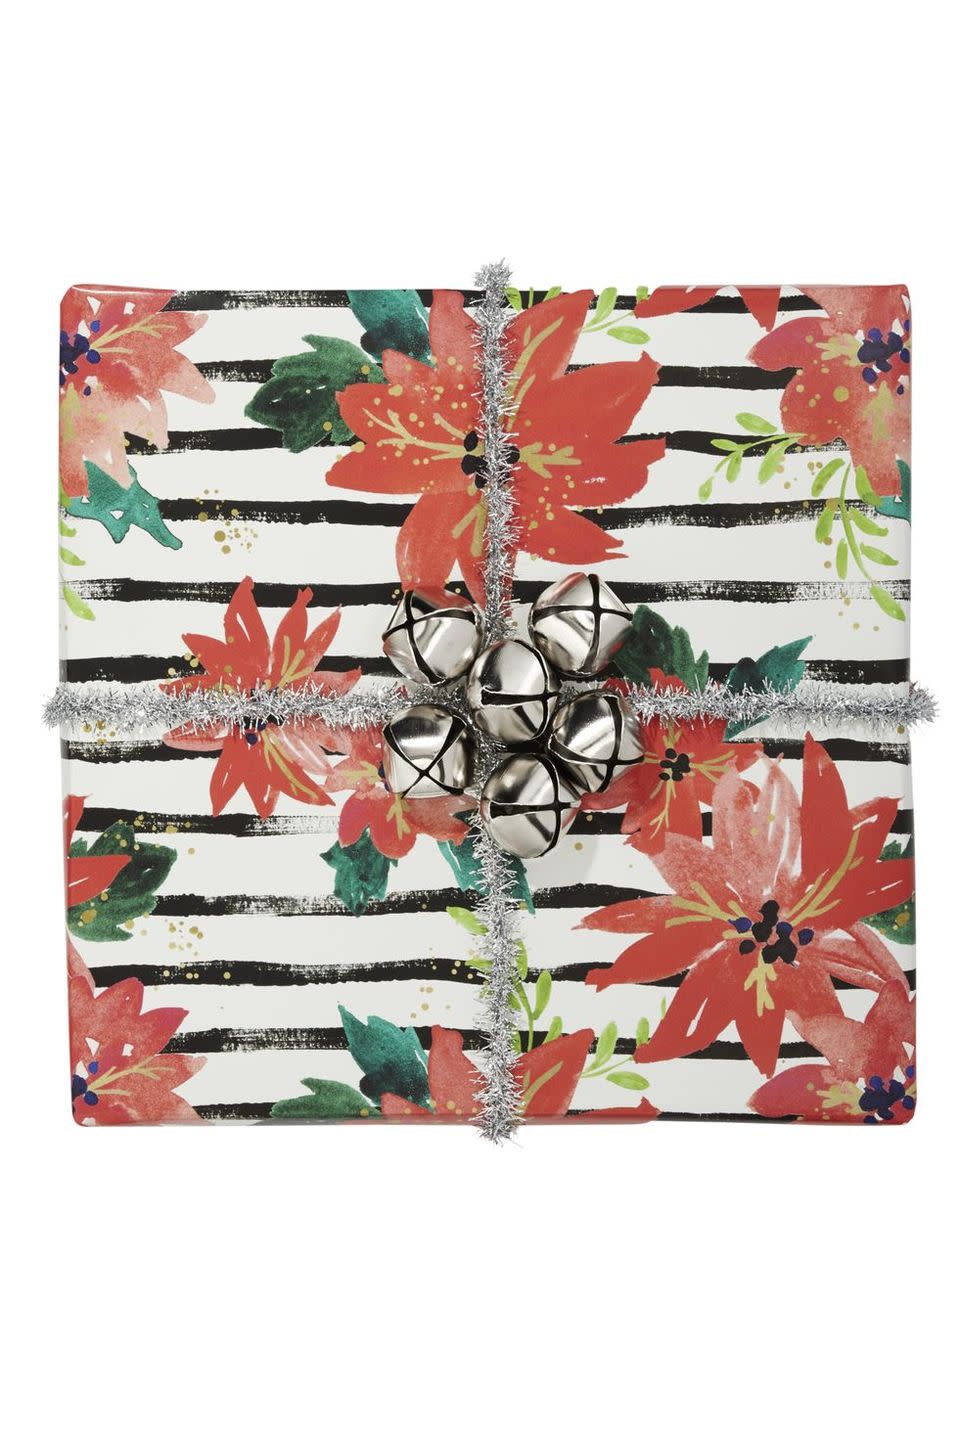


Give a Christmas gift that's as beautiful on the outside as it is on the inside. These DIY Christmas wrapping paper ideas are so easy to replicate at home.
Give a Christmas gift that's as beautiful on the outside as it is on the inside. These DIY Christmas wrapping paper ideas are so easy to replicate at home.

Inflation in Iran makes Britain’s cost of living crisis look like a picnic.
KUALA LUMPUR, April 23 — Two military helicopters collided today during the Royal Malaysian Navy's (TLDM) rehearsal for...
GEORGE TOWN, April 22 — Malaysian model and actress Siew Pui Yi has filed a civil suit against her former business partn...
The actor had everybody confused when he appeared on stage as presenter instead of Sean Lau
KUALA LUMPUR, April 22 — Singaporean actor and singer Aliff Aziz has landed in hot water once again in the midst of his...
Israeli media reported that Israel used a "Rampage" air-to-surface missile.
Singaporean Mitchell Ong faced court proceedings in Spain for his alleged involvement in the death of architect Audrey Fang. Read on for more details.
At least two people were killed in a road traffic accident involving multiple vehicles at the junction of Tampines Avenue 1 and Tampines Avenue 4. Read on.
Why wasn't Tun Mohammed Hanif Omar buried at the Heroes’ Mausoleum at the National Mosque in Kuala Lumpur? Was it deliberate or a sad case of miscommunication? The post Deliberate or poor communication? Ex-IGP Hanif Omar’s final resting place remains a talking point appeared first on Twentytwo13.
The actress moved to Spain for a quieter life with daughter Oonagh, who turned 3 earlier in April
KUALA LUMPUR, April 22 — Tan Sri Mohd Hassan Marican has been appointed to chair the Policy Advisory Committee to the Pr...
JOHOR BARU, April 23 — A 24-year-old workshop owner is being hounded by loan sharks to settle the debts taken by his est...
The wife of tech billionaire Forrest Li is set to acquire a mansion in one of Singapore’s most coveted residential areas, even as the luxury property market remains in a lull.
As Leicester City close in on an immediate return to the Premier League, the uncomfortable question looms large: is this the end of the fairy tale for Jamie Vardy?
The former president's behavior just doesn't fly out in the real world.
Jurrien Timber, Arsenal’s £39 million summer signing, scored a sensational long-range goal just eight minutes into his comeback from a long-term knee injury.
MCA is in a Catch-22 situation ahead of the Kuala Kubu Baharu by-election. If the party makes a U-turn and support Pakatan Harapan's candidate, it will please leaders of the unity government but may see its support dwindle even more. However, if MCA is adamant about staying out, the party could be axed from Barisan Nasional. The post Will MCA ‘ubah’, embrace DAP, or sit out KKB by-election and be sidelined? appeared first on Twentytwo13.
What do Taiwanese think of the US 2024 election? Clarissa Wei gives the view from Taipei, where she feels safer than in America and part of a new generation turning away from the American dream.
The World Bank's president did not say China currently had 770 million people living in extreme poverty, contrary to misleading social media posts that took part of his speech out of context. Ajay Banga was referring to data from 1978, not 2024, and in fact praised China's strategy to reduce poverty.
Taiwan was shaken by dozens of earthquakes overnight and into Tuesday that left buildings swaying and some tilting, with the government saying they were aftershocks from a huge deadly quake that hit the island more than two weeks ago.The April 3 tremor was the most serious in Taiwan since 1999, when a magnitude-7.6 quake hit the island.