
How to change your name on Facebook

Wondering how to change your name on Facebook? Whether you've adopted a new alias, married recently and changed your last name, or just want to update your profile, it’ll help to know how to alter your Facebook name to keep your digital presence accurate.
Although the process takes just a few steps, it can feel long-winded if you don’t know where the right settings are. In this guide, we’ll show you how to change your Facebook name on both desktop and mobile devices. We also briefly touch on what’s not permitted according to Facebook’s policy.
And if you want to update your Instagram profile, we’ve covered how to change your name on Instagram.
How to change your name on Facebook using a computer browser
Note: You can change your Facebook name only once every 60 days.
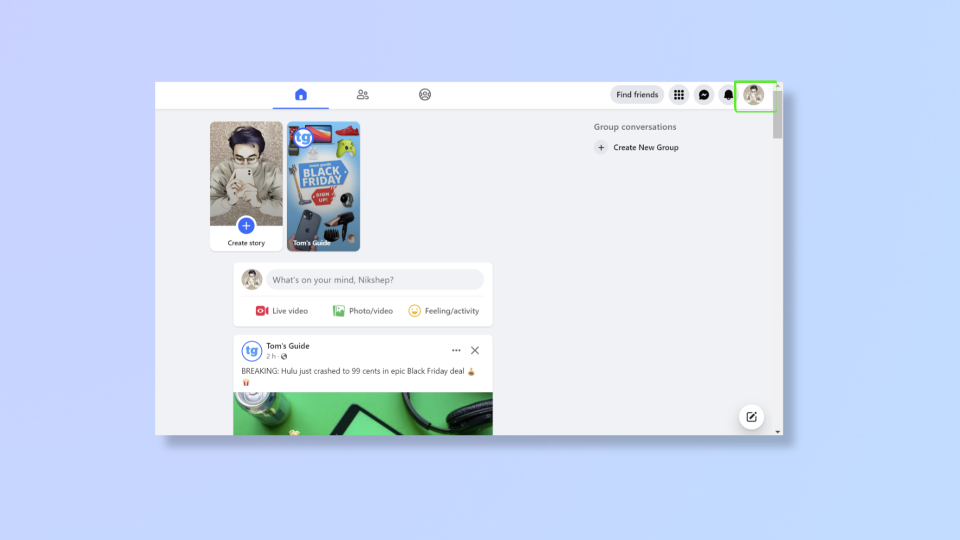
1. Log in and click your profile picture
(Image: © Future)
To begin, log into your Facebook account. Once logged in, click your profile picture in the top right corner.
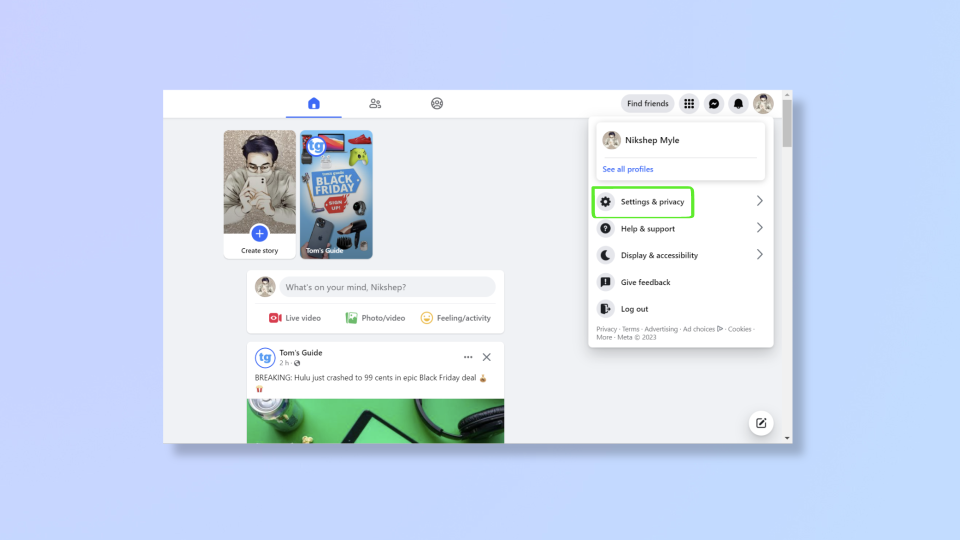
2. Click Settings & Privacy > Settings
(Image: © Future)
Click Settings & privacy and then click Settings.
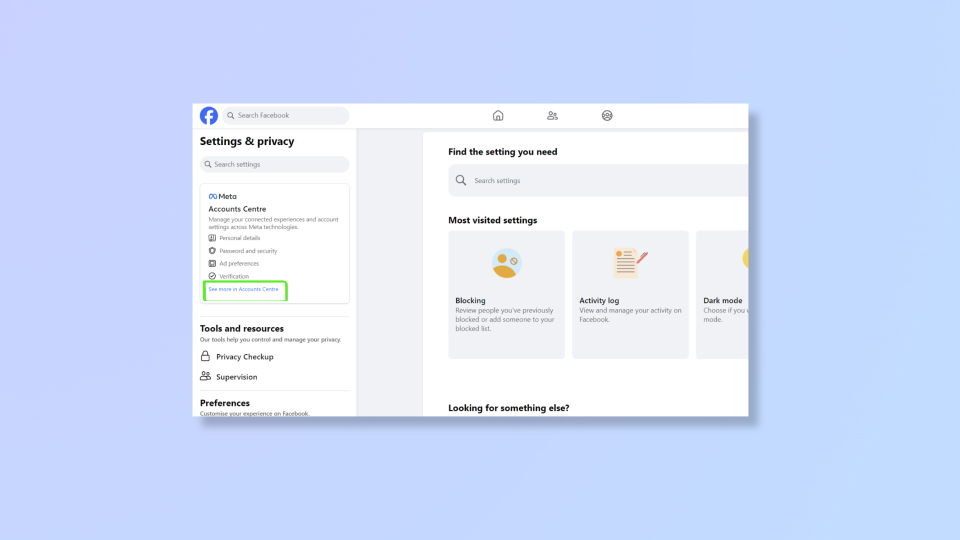
3.Click See more in Accounts Center
(Image: © Future)
In the left pane, you’ll find Accounts Center. Click See more in Accounts Center.
4. Click your profile/name

(Image: © Future)
Under Profiles, click your existing name.
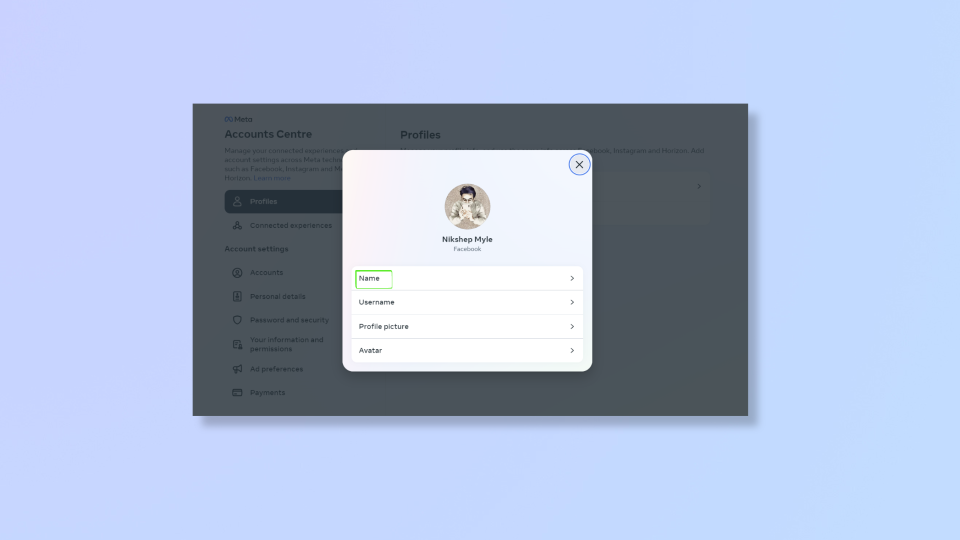
5. Select your name
(Image: © Future)
On the pop up, click Name, which is the first option.
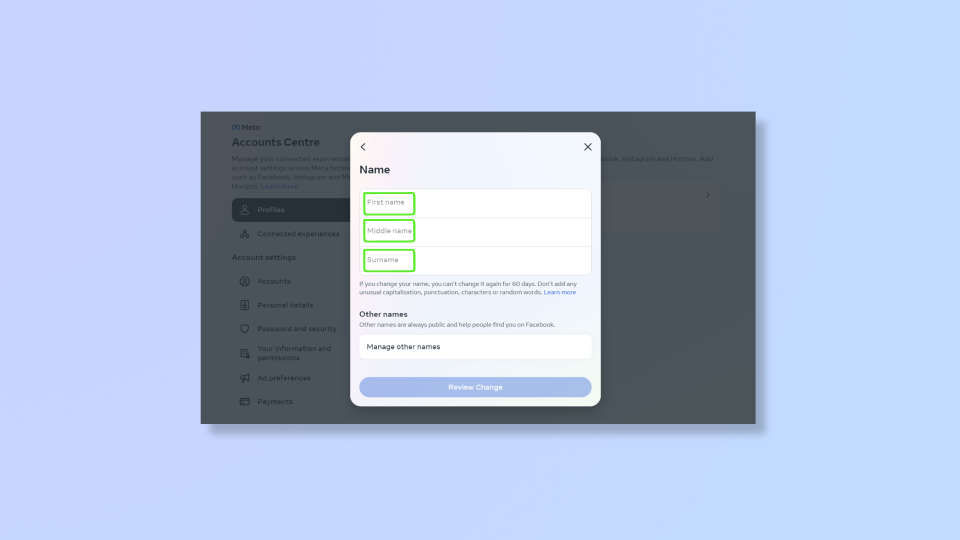
6. Enter your new name
(Image: © Future)
You now have the option to change your first name, middle name, and last name/surname. Input your new name then click Review Change.
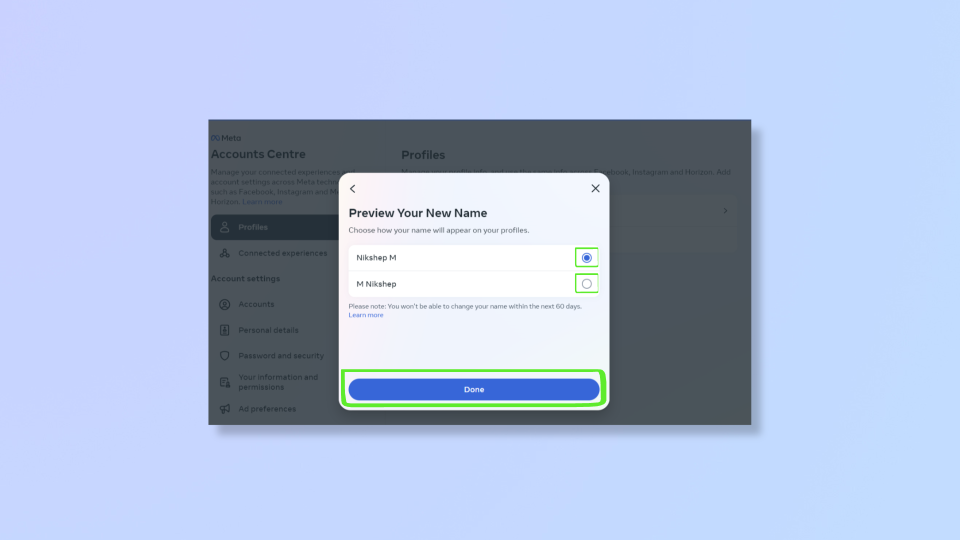
7. Preview your new name
(Image: © Future)
You'll now get a preview of your new name and you can choose how the order of your name should appear on your profile. This is the final step before your Facebook name is changed. Click Done once you’re ready.
How to change your name on Facebook using the iOS and Android apps
Changing your Facebook name on iOS and Android is quite similar to the process on the computer browser. There may be very slight variations between iOS and Android, but it should be more or less the same. Either way, we'll point out where things differ. We've demonstrated the process below using the iOS app.
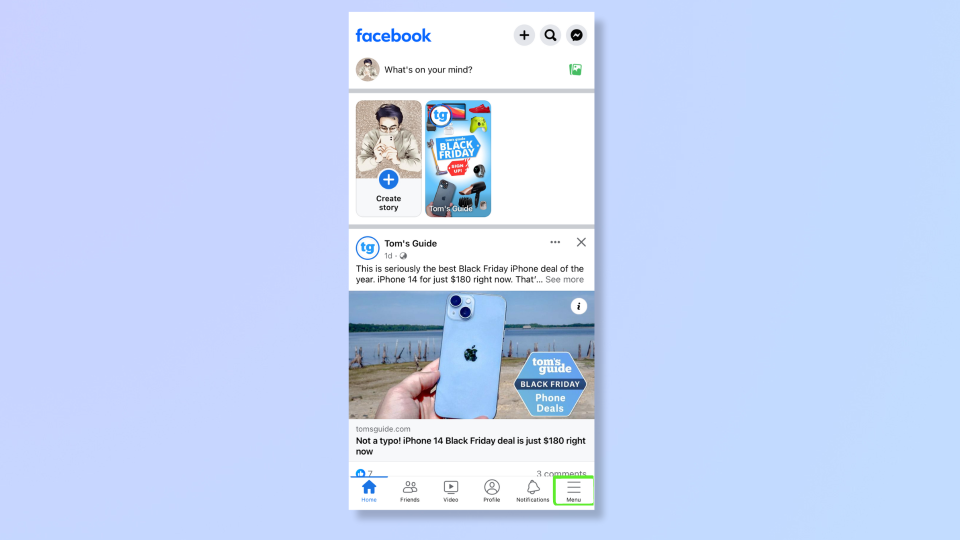
1. Log in and open the Menu
(Image: © Future)
Log in to your Facebook account on your phone.
On iPhone: tap Menu (three horizontal lines) in the bottom right corner. On Android: tap Menu (three horizontal lines) in the top right corner.
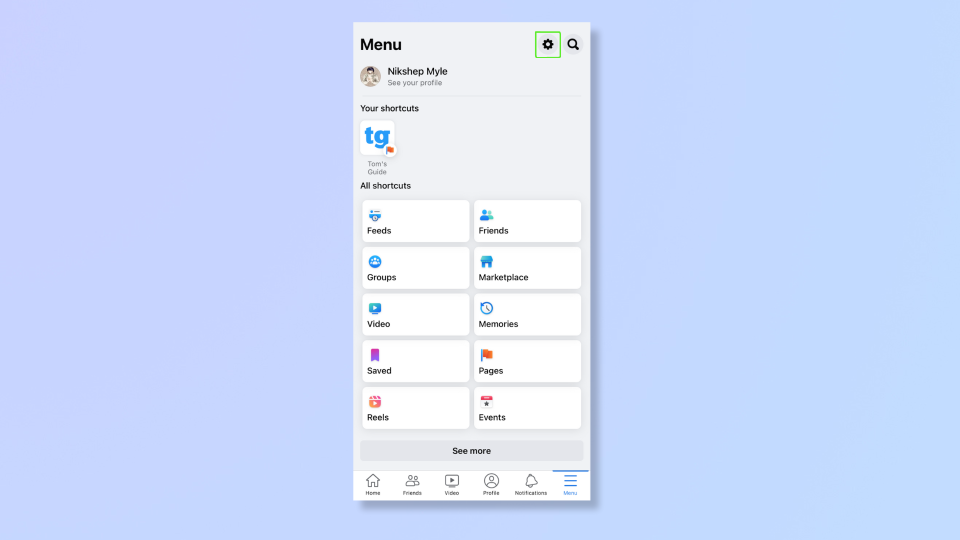
2. Go to Settings
(Image: © Future)
Tap the Settings icon (gear) in the top right corner.
3. Tap Accounts Center
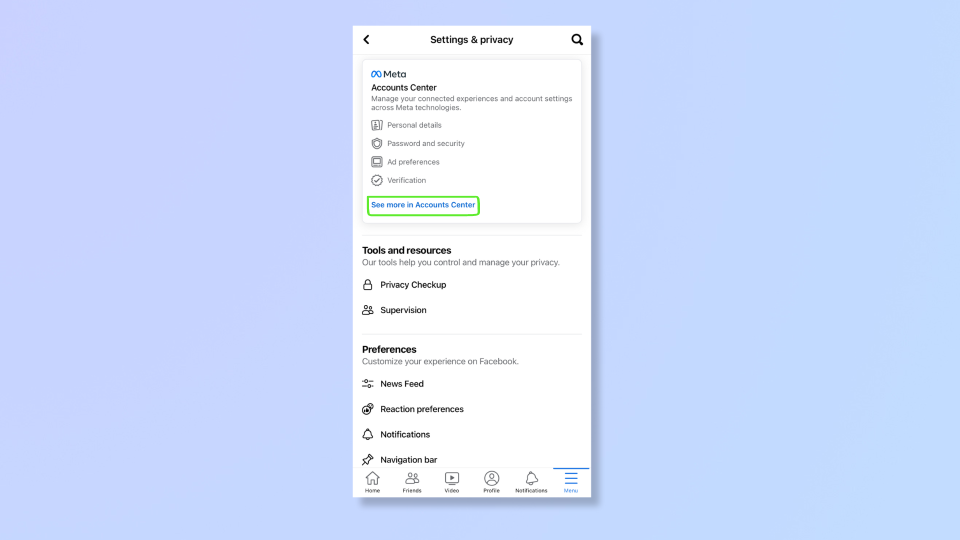
(Image: © Future)
You’ll find the Accounts Center card at the top. Tap See more in Accounts Center.
4. Select your profile/name
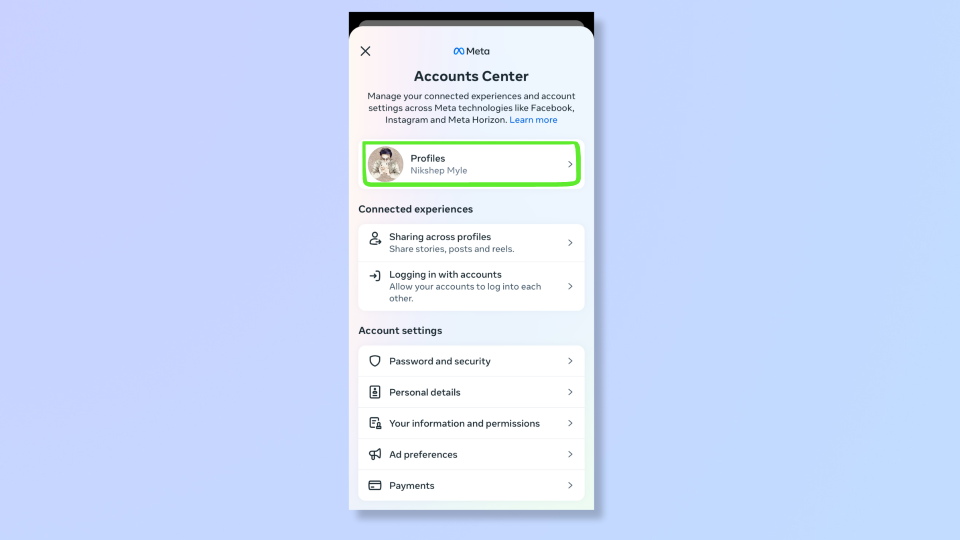
(Image: © Future)
Under Accounts Center, tap your existing name to access your profile info, then tap your existing name once more.
5. Tap Name
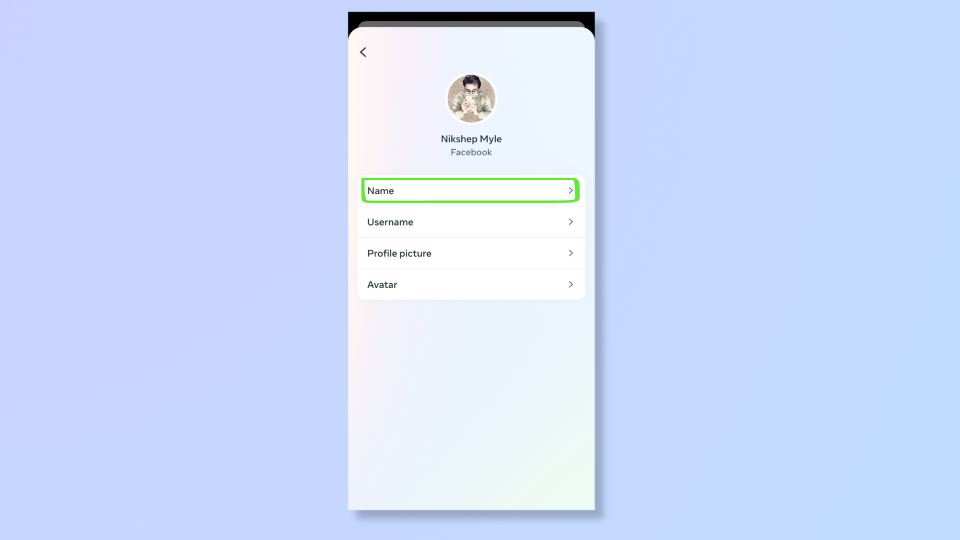
(Image: © Future)
Tap Name, which is the first option.
6. Edit your existing name
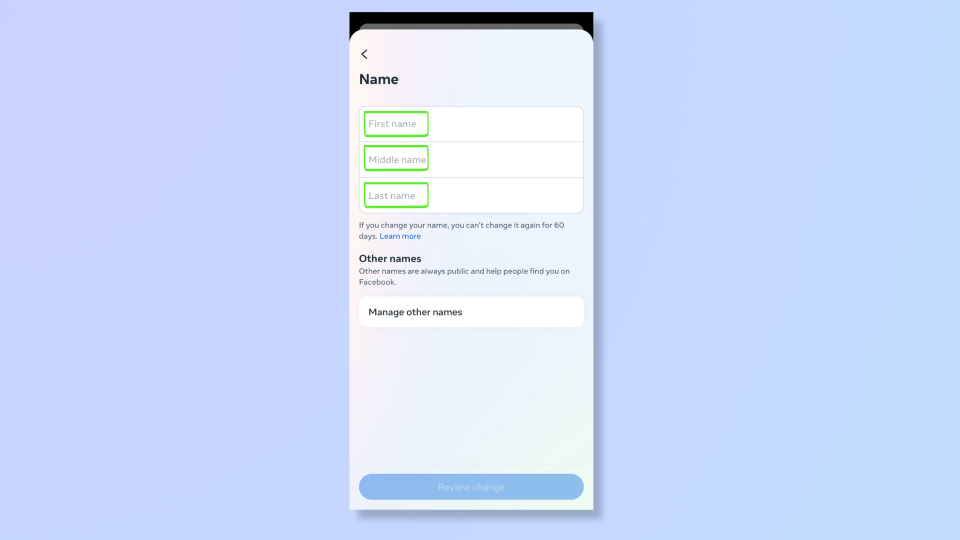
(Image: © Future)
Change your first name, middle name, and last name/surname. Once done updating your name, tap Review Change.
7. Preview your new name
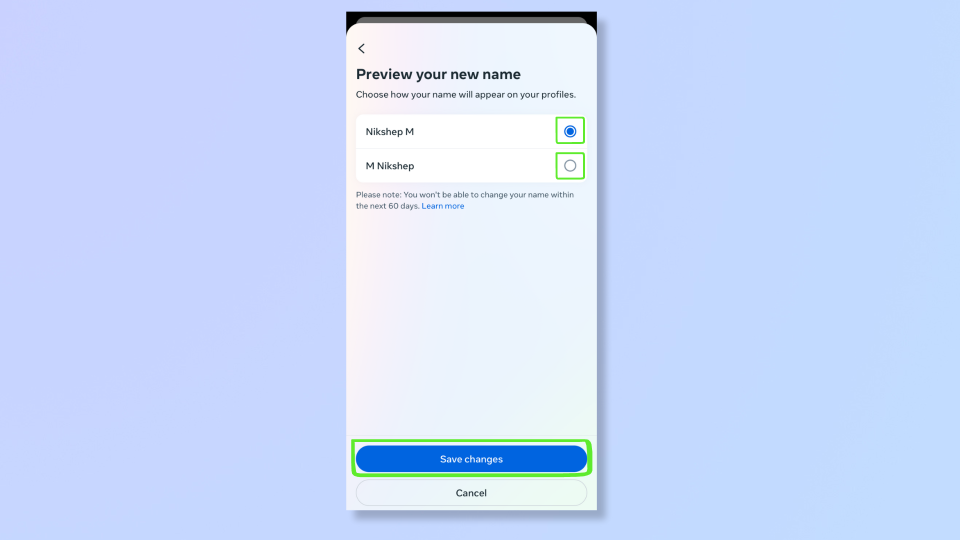
(Image: © Future)
You'll get a preview of your new name and you can choose how the order of your name should appear. This is the final step before your Facebook name is changed. Tap Save changes once you’re ready.
What isn’t allowed while setting a name?
According to Facebook, the following aren’t allowed in names:
a. Unusual capitalization, numbers, symbols, punctuation, or repeating characters.
b. Words or phrases instead of names.
c. Suggestive or offensive words.
d. Characters from multiple languages.
e. Titles of any sort, whether religious, professional, or anything else.
Now that you’ve successfully changed your name on Facebook, your friends and connections will see your updated name on their feeds and in searches. For more on Facebook, explore our guides on how to deactivate Facebook, how to make your own Facebook avatar, and how to sell on Facebook Marketplace.

